Welcome to my Cricut green spot on the planet

I am a self-confessed Cricut Addict with the need for a 12X12 Step Program!! The only thing that takes first place over my Bug is my Granddaughter! If you enjoy the projects please become a follower and leave a comment I LOVE comments!

Sunday, July 31, 2011

Vinyl Tutorial

Some of you asked about putting the vinyl on the wall and how easy or how hard it is to do. I do not have a camera where I can video this so I took pictures of each step and will explain them to you as I go. I hope this helps... If you try it be sure and let me know how it turned out for you! and Thanks for stopping by!!

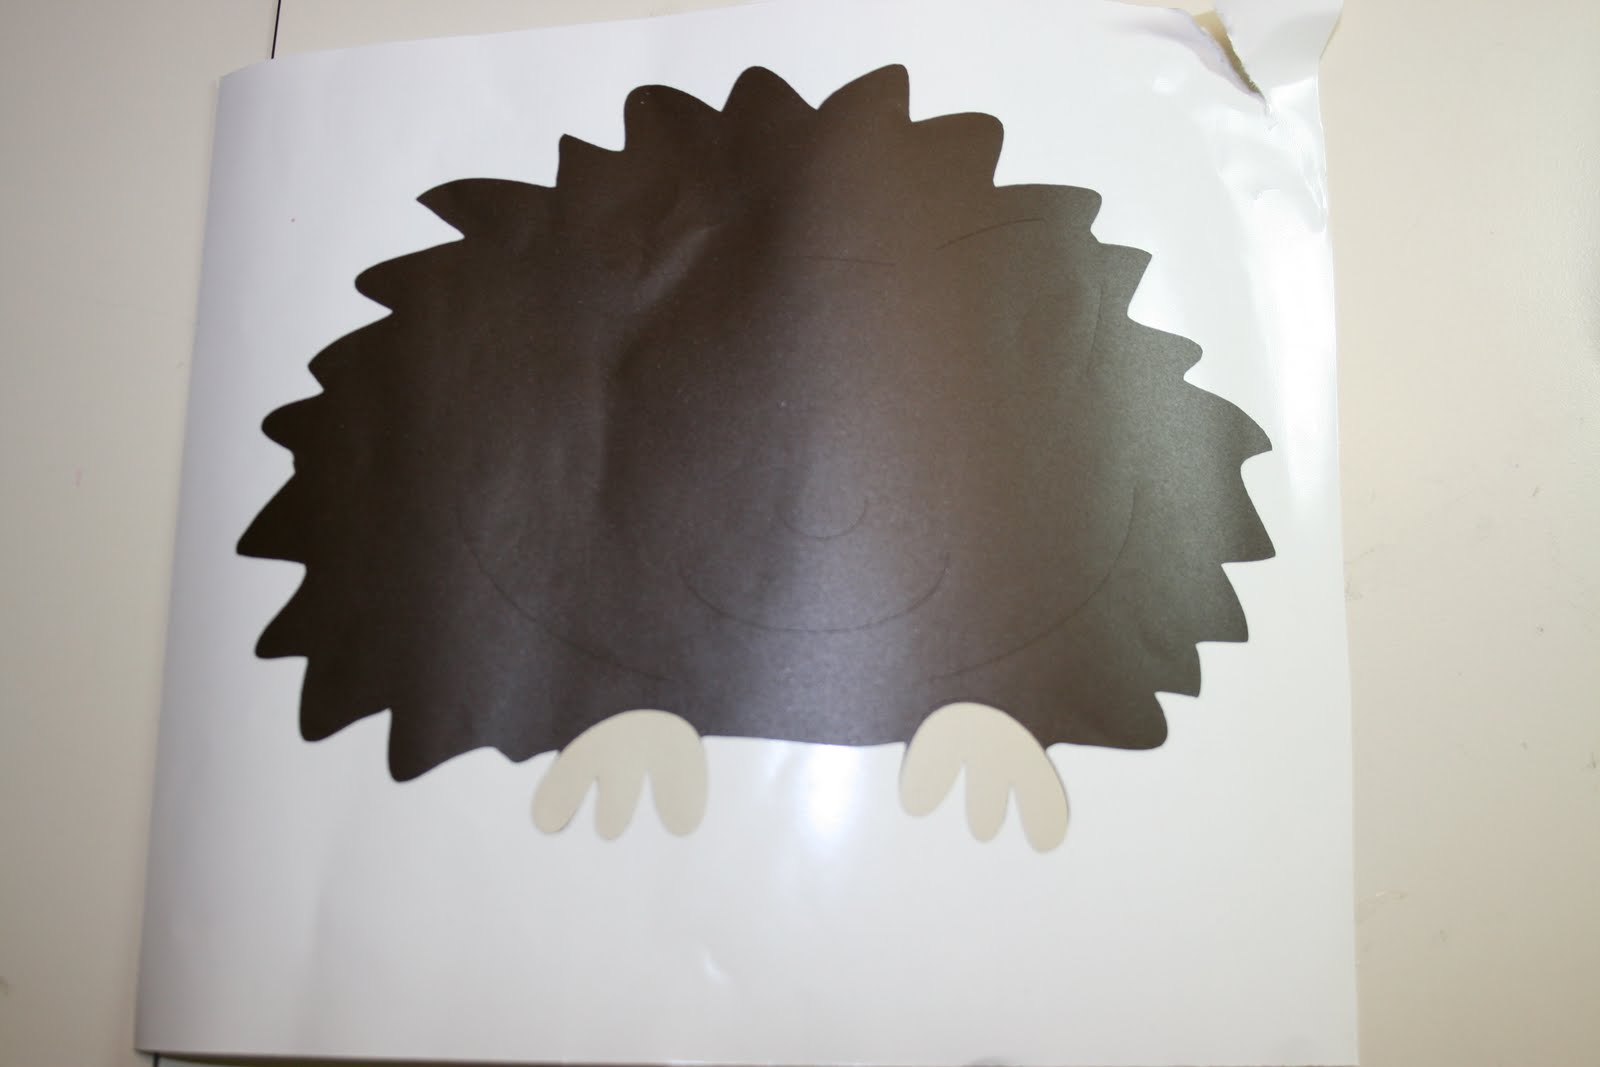
First I cut all of the pieces needed to create my hedgehog for Olivia's wall. I used my blade on 3 and my pressure on 3. When I finished cutting all the pieces the first thing I did was remove the excess vinyl leaving only the image I am going to put on the wall.


Begin by choosing the base piece of your image. Here I used the piece that I will add the layers to one by one. Lay the piece out still attached to the vinyl backing.


I choose the feet to add to the base. I take those pieces off the backing and place them on the base as I would if I were paper piecing.
Continue adding the layers to complete the item. Here I have layered the face and the snout.

Keep adding the layers, here the eyes, pink of the ears and nose, he is beginning to take life! I think in my final image I used my circle punch to cut out dark dots to put in the center of those light colored eyes. I don't know why that picture wasn't added.

Once you get to this spot you just pull the entire item from the backing. At this point the piece is a bit easier to manipulate I guess because it has more body to it from the added layers. Just place it on your wall where you would like it to be. smooth out all the hair bubbles with either a dull side of your cell phone or a Popsicle stick. I hope you will try this out because it truly is easier than I would have imagined.
If you have any questions or comments don't hesitate to do that. I may not know the entire answer but I will attempt to find it for you

Tuesday, July 12, 2011

CHA Roadtrip Penndant Entry

Ok here is my Penndant for the Roadtrip Contest. I have titled it all about Kentucky!.. In the mail it goes tomorrow! Wish me luck! I have NEVER done anything like this before!

Thursday, June 23, 2011

Pretty Purple Birthday Card Challenge

I did this for a Pretty Purple Birthday Card Challenge over at

http://www.fancyframework.com/2011/06/pretty-purple-birthday-challenge.html
Come on over and see the creations!!

The criteria was to use purple, ribbon and bling and as you can I see I have met all 3 requirements! Come join the fun!

Thursday, May 26, 2011

Liv's Room Part 2

Here is the second part to Olivia's room... It is a work in progress when we get things up we think you know this would be nice or that would be nice... when she is 16 we may have it just perfect! hahaha
I tried to do a tutorial but I didn't have anyone to take pictures for me... When I do the hedgehog I am going to add those directions in tutorial form.. hopefully this weekend!


Going to add a hedgehog to the grass along with some flowers on the next go around..


These little love birds are over her door. The next time I go down I'm going to cut a heart to place over the top of them..


This last little leaf was Olivia's contribution.. I had put things up on the wall and she was chirping around saying "I help Nana,,,I gonna help Nana" so I handed her that little leaf to "hold" for me.. it was an extra leaf I wasn't going to use so if she ripped it no biggie.. I turned around and she had hopped off the bed and found her a small spot on the wall at the foot of the bed and she put her addition up! I thought it was so cute and had to take a picture of it!!


So there you have it! I hope you enjoy. I am really having a good time working in her little room! My inspiration, Olivia,  is such a joy to work for!

Monday, April 25, 2011

Livvie Girl's Bedroom Walls Part 1

When I went to Janet's this weekend I took vinyl cuts from my cricut to put up on her wall. First time to do this on a bedroom wall.
This is part one because I will be adding additional items over the headboard of her bed and vinyl on one small chest of drawers too..


When it was finished Olivia said shaking her head "I like it!, I DO like it Nana!"


*** Footnote,,,,,,,,I have had a request to make this a tutorial so when I do the other side I am gonna add it to my blog as a tutorial! Keep tuned in~

Wednesday, April 13, 2011

Ok My First Imagine Layout.....................TAAADAAA!!!!!!!

OK this was my first time around with Imogene the Imagine... I think I need to do a bit more calibration.. When I did my first trials it seemed to be ok but the more I cut the worse it seemed to be so I need to investigate that a bit more.. I love how you can layer things and make them 3 D...

You can make the letters to match using the patterns on the cartridge

I love the froggie... he went a courtin teehee


But I think this is my most favorite thing with the Imagine.... The journal boxes... They are so awesome!!!
Please leave a comment.... Any and all will help me to become better with this new machine... I can't wait to do my next layout with Imogene~~~~~

The Cat's Meow!

This layout was inspired by the Circle Blog... Jana did one so very close to it and I loved hers... so I gotta send a shout out to her for the design.. Cracked out my Peachy Keen stamps for the face on the kitty... but his moustache....errrr whiskers????? well I had drew those in betcha couldn't guess that in a million years! LOL..................