Welcome to my Cricut green spot on the planet

I am a self-confessed Cricut Addict with the need for a 12X12 Step Program!! The only thing that takes first place over my Bug is my Granddaughter! If you enjoy the projects please become a follower and leave a comment I LOVE comments!

Sunday, January 23, 2011

Cute as a Bug!

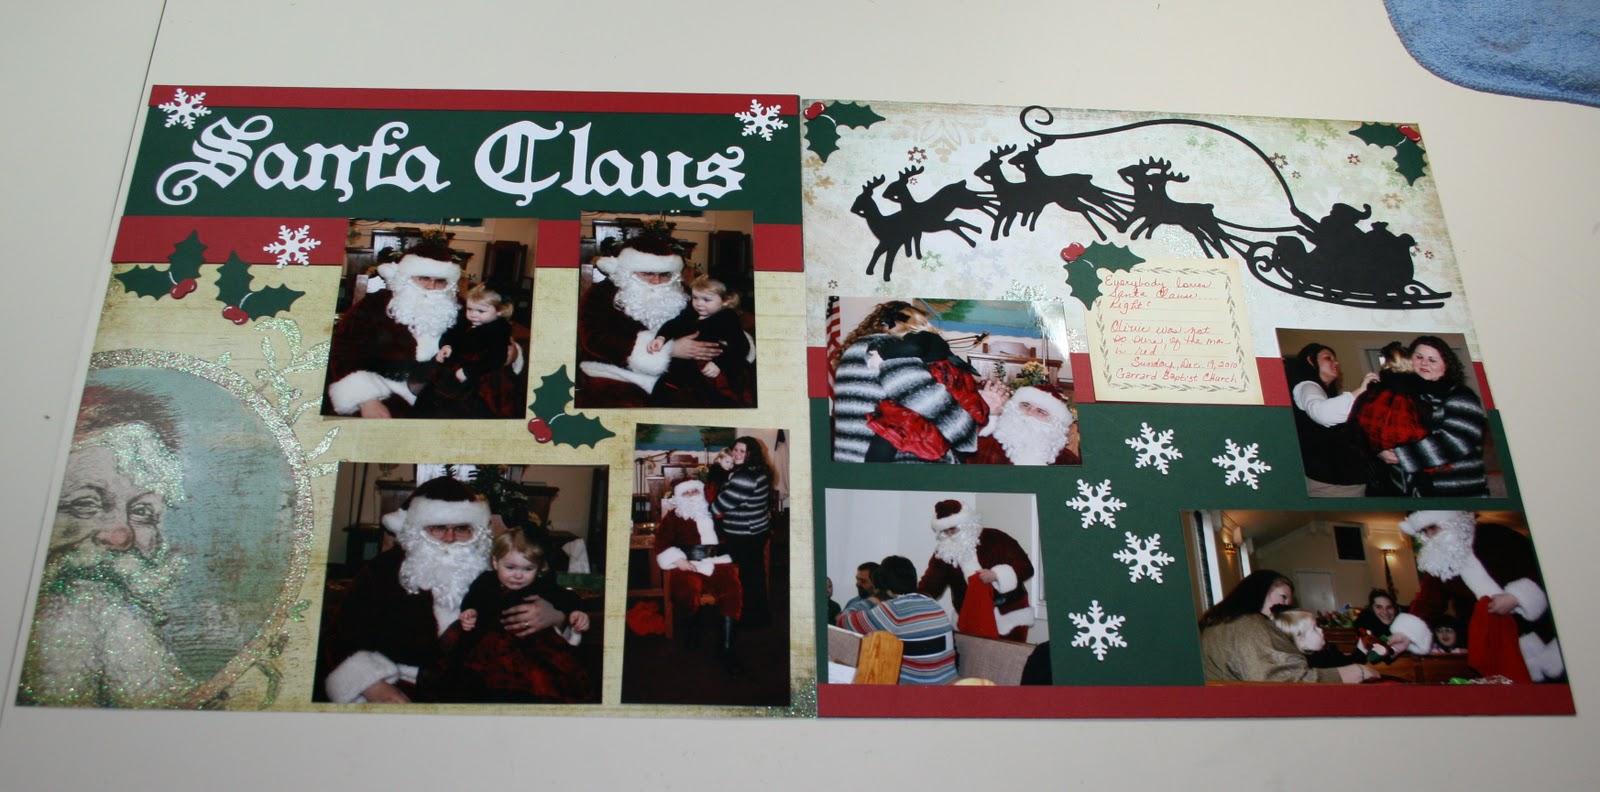
Obviously I am getting all cranked up with my scrapbooking... 4th layout of the year... This one was made because I was going to a crop this weekend that was in association with a Creative Memories Consultant. I was going to do a quick demo of Cricut and what you could do with the new Creative Memories cartridges. The Consultant said she really liked the Cheerful Seasons Cart so I decided to do a quick layout to take and show what all you can do with this cart. I did not get to go to the crop because of the snowy icy weather but I did finish the layout because I had started with it. Everything used here with the exception of the journal block and the background paper and brads were made with the Creative Memories Cheerful Seasons Cartridge. I hope you like it.


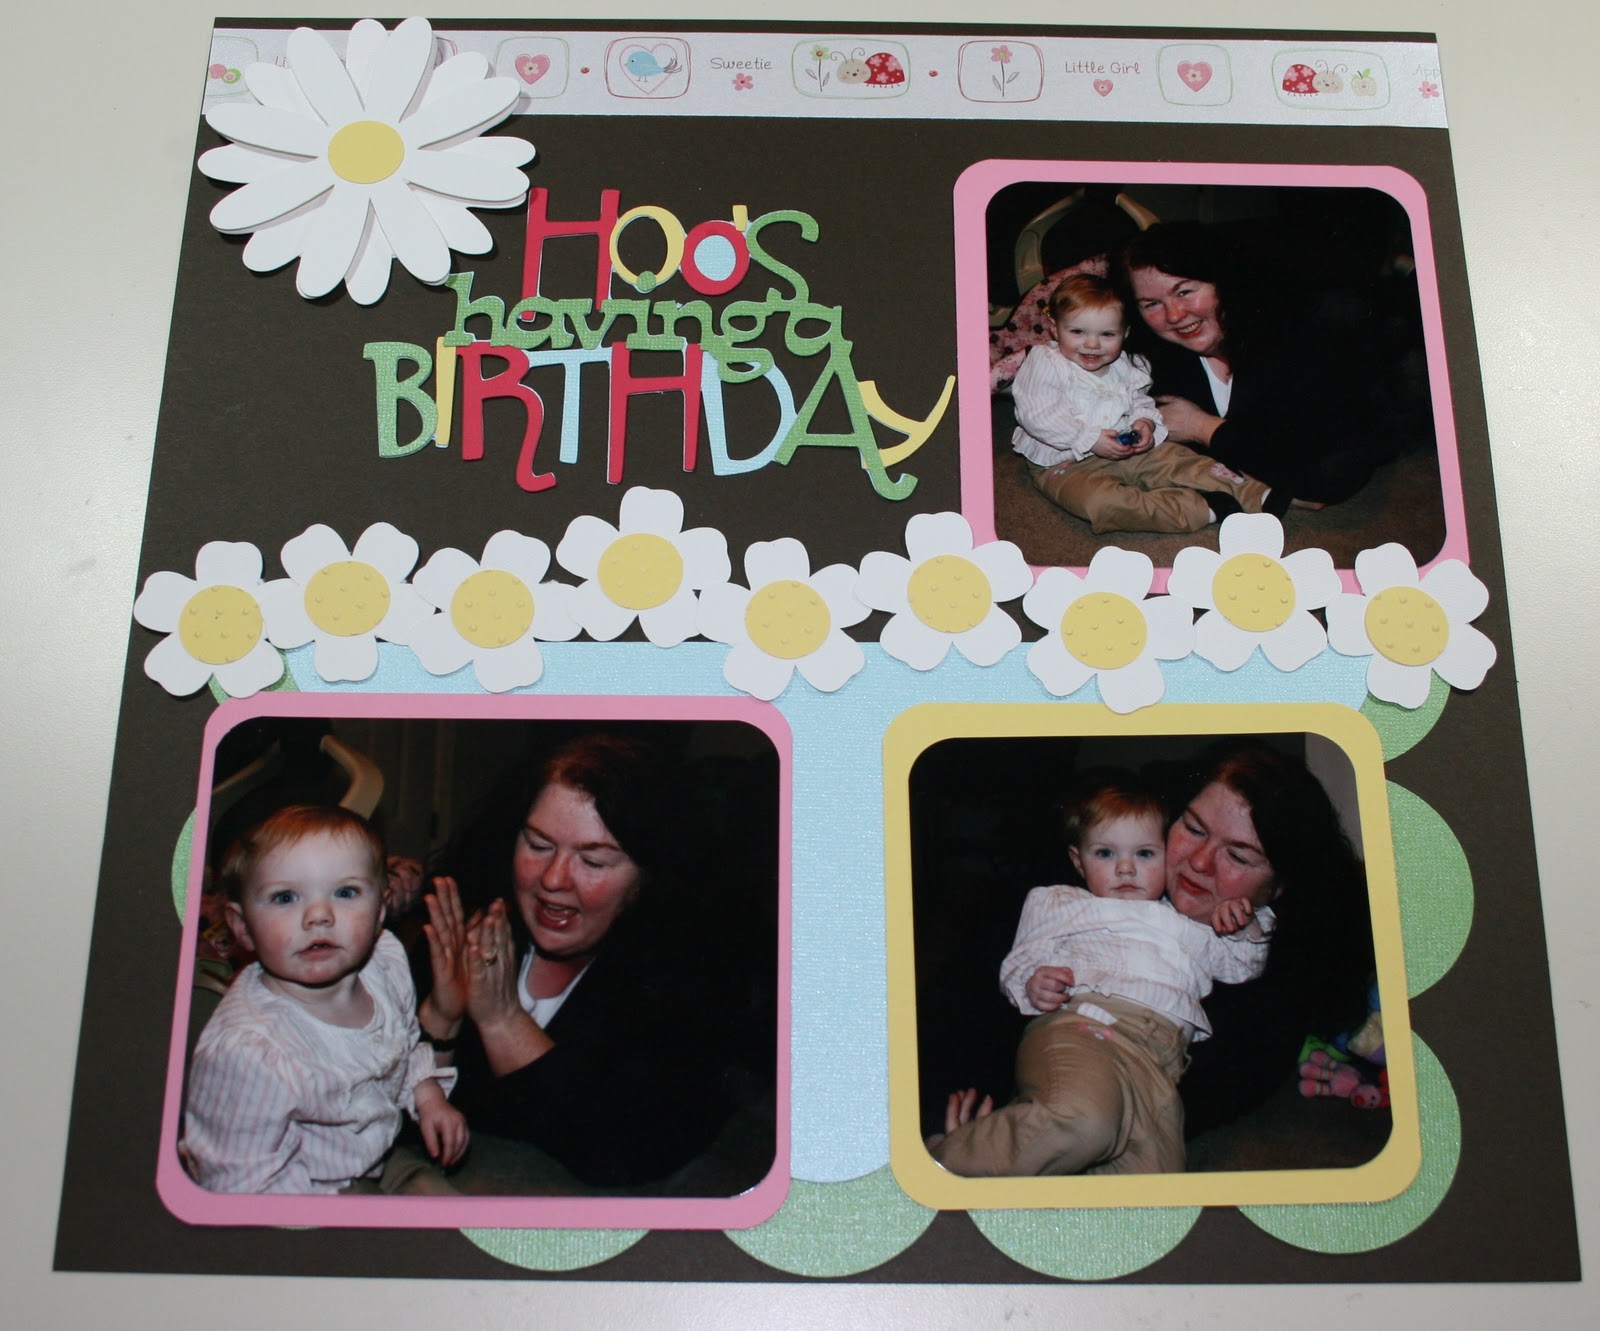
The alphabet is really cute and it cuts 4 different types of fonts. The A is just the uppercase of the basic font. The Cute is the Cheerful Font and the Bug is the Cheerful Shape Font which could really be counted as two fonts if you use the positive AND negative cuts. I made an attempt with the "bug" to match my lady bugs but wasn't happy with the result.


I love all the little bugs and snails and even the flowers on this cartridge. The grass is a partial cut from one of the images. I used my hide contour and hid the lawnmower and cut out just the grass.

I hunted through my paper to find paper that looked like sky. I never found anything that I was happy with so I decided to use a cloud stencil and some blue ink with a makeup sponge to make the background. You can't see it really well here but it turned out great!. I think Great Impressions is the maker of the cloud stencil.

The little birds on the cart are so cute~!. The branch is the base for the Summer Season tree on the cart. I just cut it and laid it sideways instead of straight up. made a great branch for my bluebird of happiness to perch.
I used glitter on the wings of the dragon fly. I just put some glue stick by Zig on the wings then sprinkled superfine glitter on them. After they dried I brushed the excess off but wish I had left it on heavy.
I cut a cloud from the Create A Critter cartridge and then used it as my journal block. It made sense since the whole layout was sky.
Let me know what you think of this one! Of course I gotta give credit to my gypsy who helps me make my layouts! I have gotten so used to working with her that I am not sure I could make a layout with it now!.

Monday, January 17, 2011

Happy January 2011 Everyone!

Happy New Year everyone!!!. I have been in a scrapping mood as of late and since January 1st I have completed 3 two page layouts! I know, I know!!! I hear you saying "that's a layout a week!!! What is up with Debbie!!!"
I just have been bitten by the bug HARD so I have been scrapping like a fiend... I have decided to upload them to my blog.
I know it's been awhile, forgive me.. I hope to upload more in the near future since I still have my scrapping bug going on!
If you have any questions please feel free to contact me. I still have these layouts on my gypsy and can give you sizes as close as I can. I suppose I could even share the gypsy file? I have never done that before but I am sure it can't be THAT hard?

Happy Scrapping!!
Debbie

Here Comes Santa Claus! OH NO!

Okay I had to put away the earlier pictures and move on to some more recent things! I don't wanna forget a thing! This year Olivia was so much more excited about Christmas! We went to church the day that Santa came to visit.. Even though Santa was a very familiar person to Olivia (shhh it was Daddy) she wasn't so sure she wanted to visit with the big guy!

I love this title... It was cut from the "Christmas Noel" solutions cartridge.. I love the S and the C... the holly was cut from "Winter Woodland" and the snow flakes were punched with my Creative Memories snowflake punch.

The Santa, reindeer, and sleigh were also cut from the "Christmas Noel" cart. I cut it as a silhouette in black and I love the way it turned out. I saw this done by someone else somewhere but it wasn't a Cricut cut. I decided to switch it up and use Cricut and love the way it came out.

This paper stack is so beautiful! I bought it last year at Michael's. I think it is Basic Grey. I had split the stack with a friend so I didn't have the covers of the stack to tell you exactly. I love this Santa he is so handsome!

I  really enjoyed making this page. I think this is the first Christmas page I have completed in a long time. I know it's the first Christmas page I have made with Olivia.. I have got to get busy!!!
Again, I used my fabulous Gypsy to create the cuts. If you have any questions I still have it on my gypsy and can give you approximate sizes if you need them. 

Look Who's Having a Birthday! Olivia! That's WHOOOOOO

Working on Miss Olivia's first birthday.. I know it's only a year later! But I have been extremely motivated! I used an unlikely combination of carts with this one... I started out with Mini Monograms for the blue and green scallop pieces that I cut in half and used one half on each page. The strip across the top believe it or not came out of my scrap box. I was very impressed with myself for using my scraps :-)

The flowers were all cut from "Forever Young" I love this cart! The big daisy was cut and then layered with a pop dot between the layers to give it depth. The title was cut from "Hoot "N" Holler" One of the Cricut Lite cartridges from Wal-Mart. I love how it gives you all the different color layers without having to trim them out yourself, makes paper piecing a breeze!

I can't for the life of me remember what cartridge I cut the one from.... sorry! The title block is one from a My Mind's Eye collection I believe.
Doncha love this owl? I fell in love with her the instant I found her on my gypsy... she came from "Disney Princesses - Happily Ever After" I don't have the sizes on any of my cuts because I used my awesome GYPSY!!! Gotta tell you if you don't have one of these it MUST be your next purchase. You can actually size each item to fit your page without worrying about what "size" it is with the dials. Super dooper easy.

Believe it or not Olivia is going to be 2  years old in 16 days and I am still working away on her baby pictures and  her 1st birthday party is yet to be scrapped.... Nana has got to get the lead out!!
I hope you enjoy this layout. If you have any questions please be sure and leave a comment. I will get back to you as soon as I can.

Thanks for visiting!

Olivia - my Beautimus Tiny Dancer!!

After all the bad press with the "Shall We Dance" cartridge I thought maybe I would try a page with it.. I was surprised at how many things I could use on this layout from that cartridge. I do have the perfect picture for that cartridge though :-)


I use a lot of brands of rubber stamps but my favorite brand by far is TECHNIQUE TUESDAY. The background on the white strip was made with a group of their stamp sets that I pulled one from this set and one from that set. I have decided if I can't find the right background paper I can pull out my stamps and create it! I encourage you all to give it a try.

The dancers along the side of the layout are all from Shall We Dance.. I used glitter to dress up the tutu


This title came from "Once Upon a Princess" I dressed up the bows with my I-Rock which I have decided is a pretty good investment! The only problem I have is chasing the little blings down. If anyone has a great way to add them to a page I would LOVE to know what it is. The ballet slippers came from "Shall We Dance".

I just love these little dancers! I can't wait for Olivia to see them I think she will like them too!


Again I used my Technique Tuesday stamps to make a co-ordinating piece for the second page of my layout.

I think the papers are from K & Company... At least I know the floral piece is.
I hope you enjoy this layout, pink and brown is one of my favorite color combinations for little girls.